
Nature and Magic • Easy drawing • Ages 4–8
How to Draw a Fairy for Kids
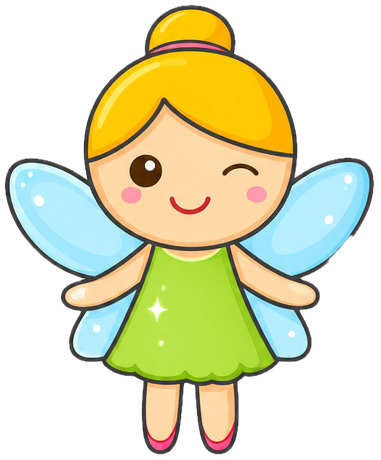
Learn how to draw a little fairy in four easy visual steps. One circle becomes a winged character with a tidy bun — a magical, screen-free project for ages 4–8.
See the grown-up comparison guides before you buy.
This fairy begins with a single circle for the head, then a simple dress, arms and legs hang below it. Drawing a whole character can feel big, so the steps break it into small, calm pieces. Read them together and let your child decide how wide the wings should be.
Make it your own
Give the fairy a wand with a star tip, a trail of sparkles behind the wings, or a toadstool to stand on. Flower petals for a skirt make each fairy one of a kind.
Draw a fairy in four steps

Step 1
Draw one circle near the top of the page for the fairy’s head.
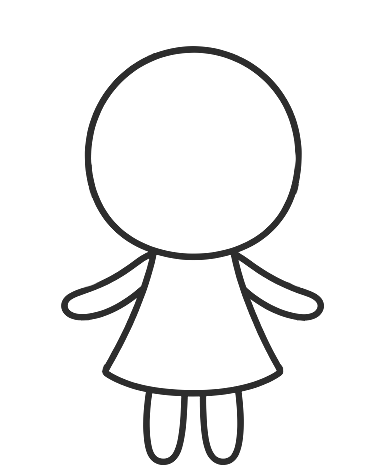
Step 2
Under the head, draw a short dress that widens at the bottom, with an arm out on each side and two straight legs.

Step 3
Add a small round bun on top of the head and two wings on each side of the body, a larger one above a smaller one.

Step 4
Finish the face with one open eye, one winking eye and a smile, then draw a curved hairline across the forehead.
Want the printable version?
Parents and teachers can receive Bunny, Butterfly, and Penguin drawing activities by email.
Get the free drawing packMore Drawings to Try

How to Draw a Mermaid for Kids
Draw a smiling mermaid in four simple steps, from one curved line to long hair and a scaly tail. A calm, imaginative drawing activity for beginners ages 4–8.
Draw it in 4 steps →
How to Draw a Star for Kids
Four easy visual steps turn five soft points into a smiling star. This calm, screen-free drawing project is designed for beginner artists ages 4–8.
Draw it in 4 steps →
How to Draw a Moon for Kids
Draw a sleepy crescent moon wearing a nightcap in four simple visual steps. A soothing, screen-free bedtime drawing activity for beginner artists ages 4–8.
Draw it in 4 steps →