Nature and Magic • Easy drawing • Ages 4–8
How to Draw a Star for Kids
Four easy visual steps turn five soft points into a smiling star. This calm, screen-free drawing project is designed for beginner artists ages 4–8.

See the grown-up comparison guides before you buy.
The star begins with a five-pointed outline drawn with rounded, chubby points rather than sharp spikes, which is far kinder to young hands. A second outline just inside gives it a glowing edge, and a tiny companion star keeps it company. Draw it together and take the points one at a time.
Make it your own
Scatter a whole constellation around it, add a swirl of sparkles, or hang it at the top of a drawn tree. Your child could make it the star a rocket is flying towards, or wish on it in a night-sky scene.
Draw a star in four steps

Step 1
Draw the upper points and side arms of a large five-pointed star.

Step 2
Close the outline so the star is complete, with all five plump points joined up.

Step 3
Add a smaller star beside the large one.

Step 4
Finish with two shiny eyes and a smile on the large star.
Want the printable version?
Parents and teachers can receive Bunny, Butterfly, and Penguin drawing activities by email.
Get the free drawing packMore Drawings to Try

How to Draw a Moon for Kids
Draw a sleepy crescent moon wearing a nightcap in four simple visual steps. A soothing, screen-free bedtime drawing activity for beginner artists ages 4–8.
Draw it in 4 steps →
How to Draw a Sun for Kids
Learn how to draw a beaming sun in four easy visual steps. One circle and a ring of little oval rays make this an ideal screen-free activity for ages 4–8.
Draw it in 4 steps →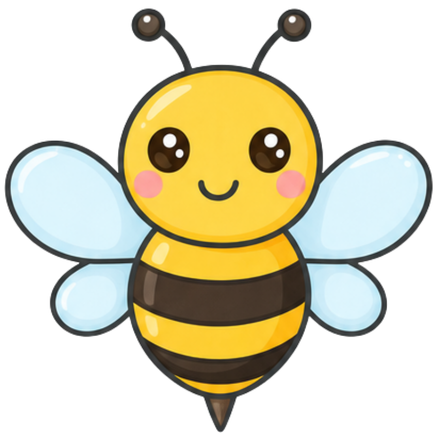
How to Draw a Bee for Kids
Learn to draw a friendly striped bee in four easy steps. Circles, ovals and stripes make this a fun, screen-free activity for beginner artists ages 4–8.
Draw it in 4 steps →