Animals • Easy drawing • Ages 4–8
How to Draw a Bee for Kids
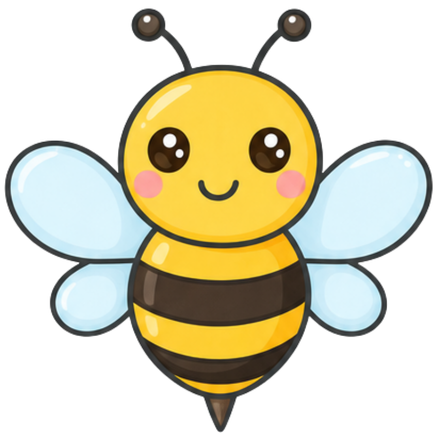
Learn to draw a friendly striped bee in four easy steps. Circles, ovals and stripes make this a fun, screen-free activity for beginner artists ages 4–8.
See the grown-up comparison guides before you buy.
This bee is built from two shapes only: a circle for the head and an oval for the body. The four rounded wings and the stripes come next, so the drawing stays simple right to the end. Read each step aloud and let your child decide how many stripes to add.
Make it your own
Add a looping dotted flight path, a sunflower to visit or a striped hive hanging from a branch. A tiny bucket of honey in the bee’s hands is always a hit.
Draw a bee in four steps

Step 1
Draw one circle near the top of the page for the bee’s head.
Step 2
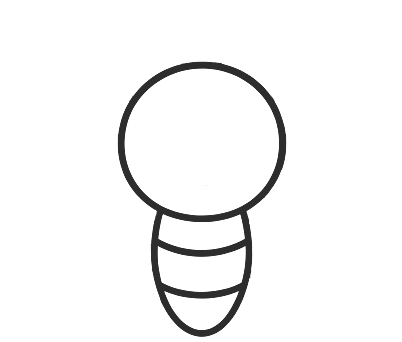
Add a larger oval body directly below the circle, touching the bottom of the head.

Step 3
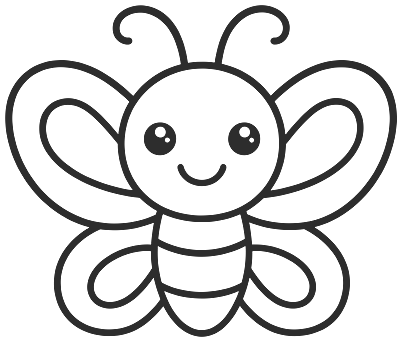
Draw two rounded wings on each side of the body, then add three curved stripe lines across the body.
Step 4
Finish with two shiny eyes, a smiling mouth, two antennae with round tips and a small pointed stinger at the bottom.
Want the printable version?
Parents and teachers can receive Bunny, Butterfly, and Penguin drawing activities by email.
Get the free drawing packMore Drawings to Try

How to Draw a Koala for Kids
A cuddly koala drawing in four clear visual steps. The big round ears and soft shapes make this an easy win for beginner artists ages 4–8.
Draw it in 4 steps →
How to Draw a Fish for Kids
Draw a friendly fish in four simple visual steps. An oval body and a fan-shaped tail make this one of the easiest screen-free drawing projects for beginner artists ages 4–8.
Draw it in 4 steps →
How to Draw a Dolphin for Kids
Here is how to draw a leaping dolphin in four easy visual steps. Smooth curves and a pointed fin make this a graceful, screen-free drawing activity for beginner artists ages 4–8.
Draw it in 4 steps →