Animals • Easy drawing • Ages 4–8
How to Draw a Owl for Kids
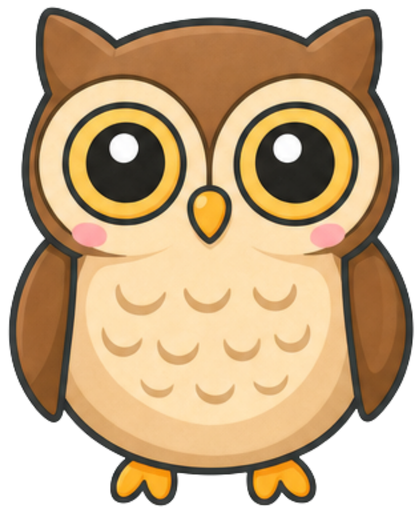
Draw a wide-eyed owl in four simple steps. Big circles for eyes and a rounded body make this a satisfying project for young artists ages 4–8.
See the grown-up comparison guides before you buy.
This owl begins with a rounded body shape that already has two pointed ear tufts on top, so it looks like an owl from the very first line. The two huge eyes at the end are the fun part. Read the steps aloud and let your child take charge of the face.
Make it your own
Perch your owl on a branch with a crescent moon and a few stars behind it. Little V shapes across the tummy make convincing feathers, and a sleepy half-closed eye works too.
Draw a owl in four steps
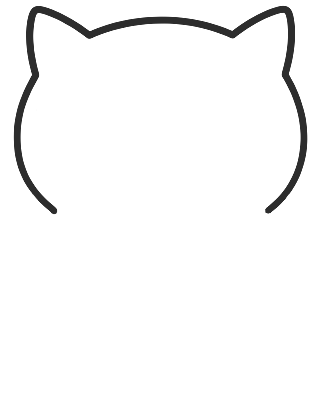
Step 1
Draw a rounded shape with two small pointed tufts sticking up from the top like little ears.
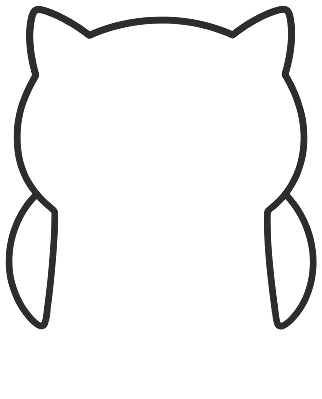
Step 2
Add one long, leaf-shaped wing down each side, tucked close against the body.
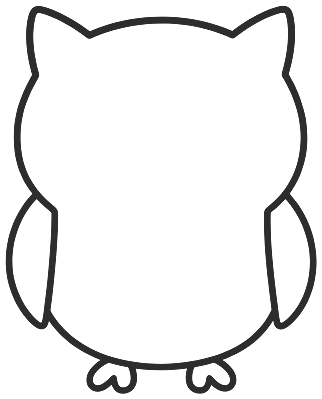
Step 3
Round out the full body below the wings and add two small feet with tiny toes at the bottom.
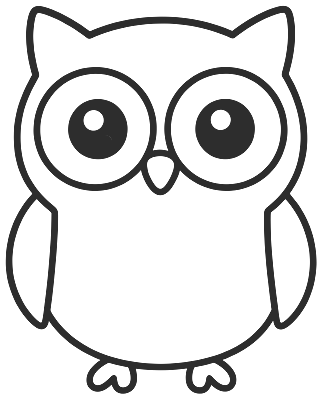
Step 4
Finish with two big circle eyes with dark pupils, a small triangle beak between them and a curved tummy line.
Want the printable version?
Parents and teachers can receive Bunny, Butterfly, and Penguin drawing activities by email.
Get the free drawing packMore Drawings to Try
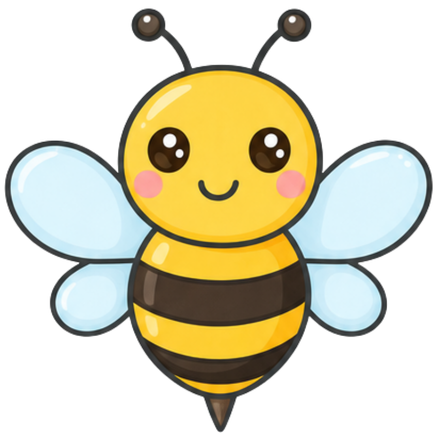
How to Draw a Bee for Kids
Learn to draw a friendly striped bee in four easy steps. Circles, ovals and stripes make this a fun, screen-free activity for beginner artists ages 4–8.
Draw it in 4 steps →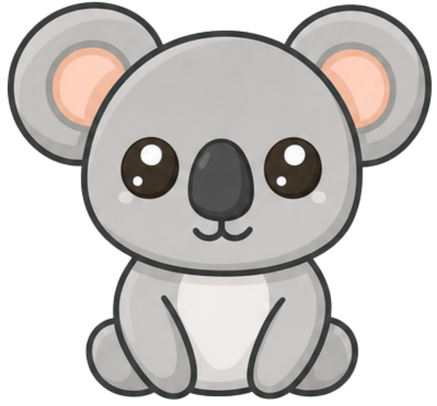
How to Draw a Koala for Kids
A cuddly koala drawing in four clear visual steps. The big round ears and soft shapes make this an easy win for beginner artists ages 4–8.
Draw it in 4 steps →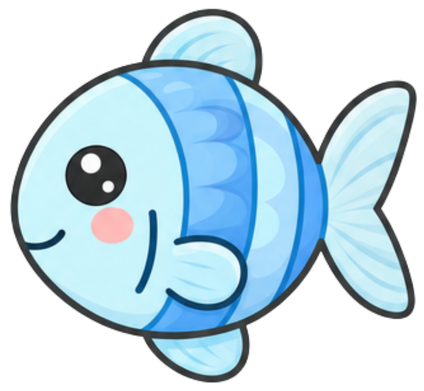
How to Draw a Fish for Kids
Draw a friendly fish in four simple visual steps. An oval body and a fan-shaped tail make this one of the easiest screen-free drawing projects for beginner artists ages 4–8.
Draw it in 4 steps →